TL;DR:
Material UI (MUI) simplifies and accelerates UI development, ensuring consistency across the design. It is a library of ready-made, customizable components that help developers build visually appealing interfaces faster. To install Material UI (MUI) in a React project, you must have the compatible React and React-DOM versions. Updating the project setup is also required for better results.
When I started using Material UI in React for the first time, it was hardly satisfactory. Initially, I thought it would be simple, as it empowers React developers with several pre-built components, but eventually I realized the reality. Different types of warnings and errors made me wonder, “What did I miss now?”
It used to get tiring every time, but I kept going and googling the errors to find all dependencies, required packages, their latest and compatible versions, or additional installations. At last, I understood how things fit together.
This hard-learned experience pushed me to write this blog to help you through the installation of MUI in your React projects. Although you may not face all the same issues, having a guide to kickstart your journey helps.
Prerequisites for Installing Material UI in React
Material UI depends on React to render its components, so React and React-DOM are the first prerequisites to work with Material UI. Then you can install MUI on top of it.
The compatible versions of the peer dependencies are –
"peerDependencies": {
  "react": "^17.0.0 || ^18.0.0 || ^19.0.0",
  "react-dom": "^17.0.0 || ^18.0.0 || ^19.0.0"
},
The minimum React version to support Material UI packages working as expected is v17.0.0. If your React version is less than that, you should update it first. Use the following to update your project:
npm install react@<version> react-dom@<version>
// replace the <version> with the one you want; ex: npm install react@17 react-dom@17
Note: Install the same version for React and React-DOM. If not, you may get unexpected behavior in your application.
Along with this, you can also check the following requisites:
- Basic knowledge of working with Material UI.
- Node.js must be installed.
- Knowledge of creating a React application.
- Code editor (VS Code, Sublime Text, Jupyter Notebook, etc.)
Once everything is checked, we’re ready to start the installation process and enjoy the magic of Material UI. Let’s go!
Step-1: Create a React Application
Create a React project using Vite for a smooth and clean setup without a framework. You can do this simply by running these easy commands in your terminal (like PowerShell, Command Prompt, or VS Code).
- Go to the terminal and run
npm create vite@latest.
- Next, add a project name, select the framework to React for building the React project, and JavaScript as a variant. You can choose ‘Typescript’ for the variant if needed in your project.
- After that, navigate to your project library by running,
cd [your project name].
- Then, run the followings to install the necessary dependencies and start the development server:
npm install
npm run dev
After running these commands, you’ll see a message on your terminal with a random port number, like http://localhost:5173/. Open your browser and visit this URL. It will launch your React app with Vite in the browser, enabling you to proceed.
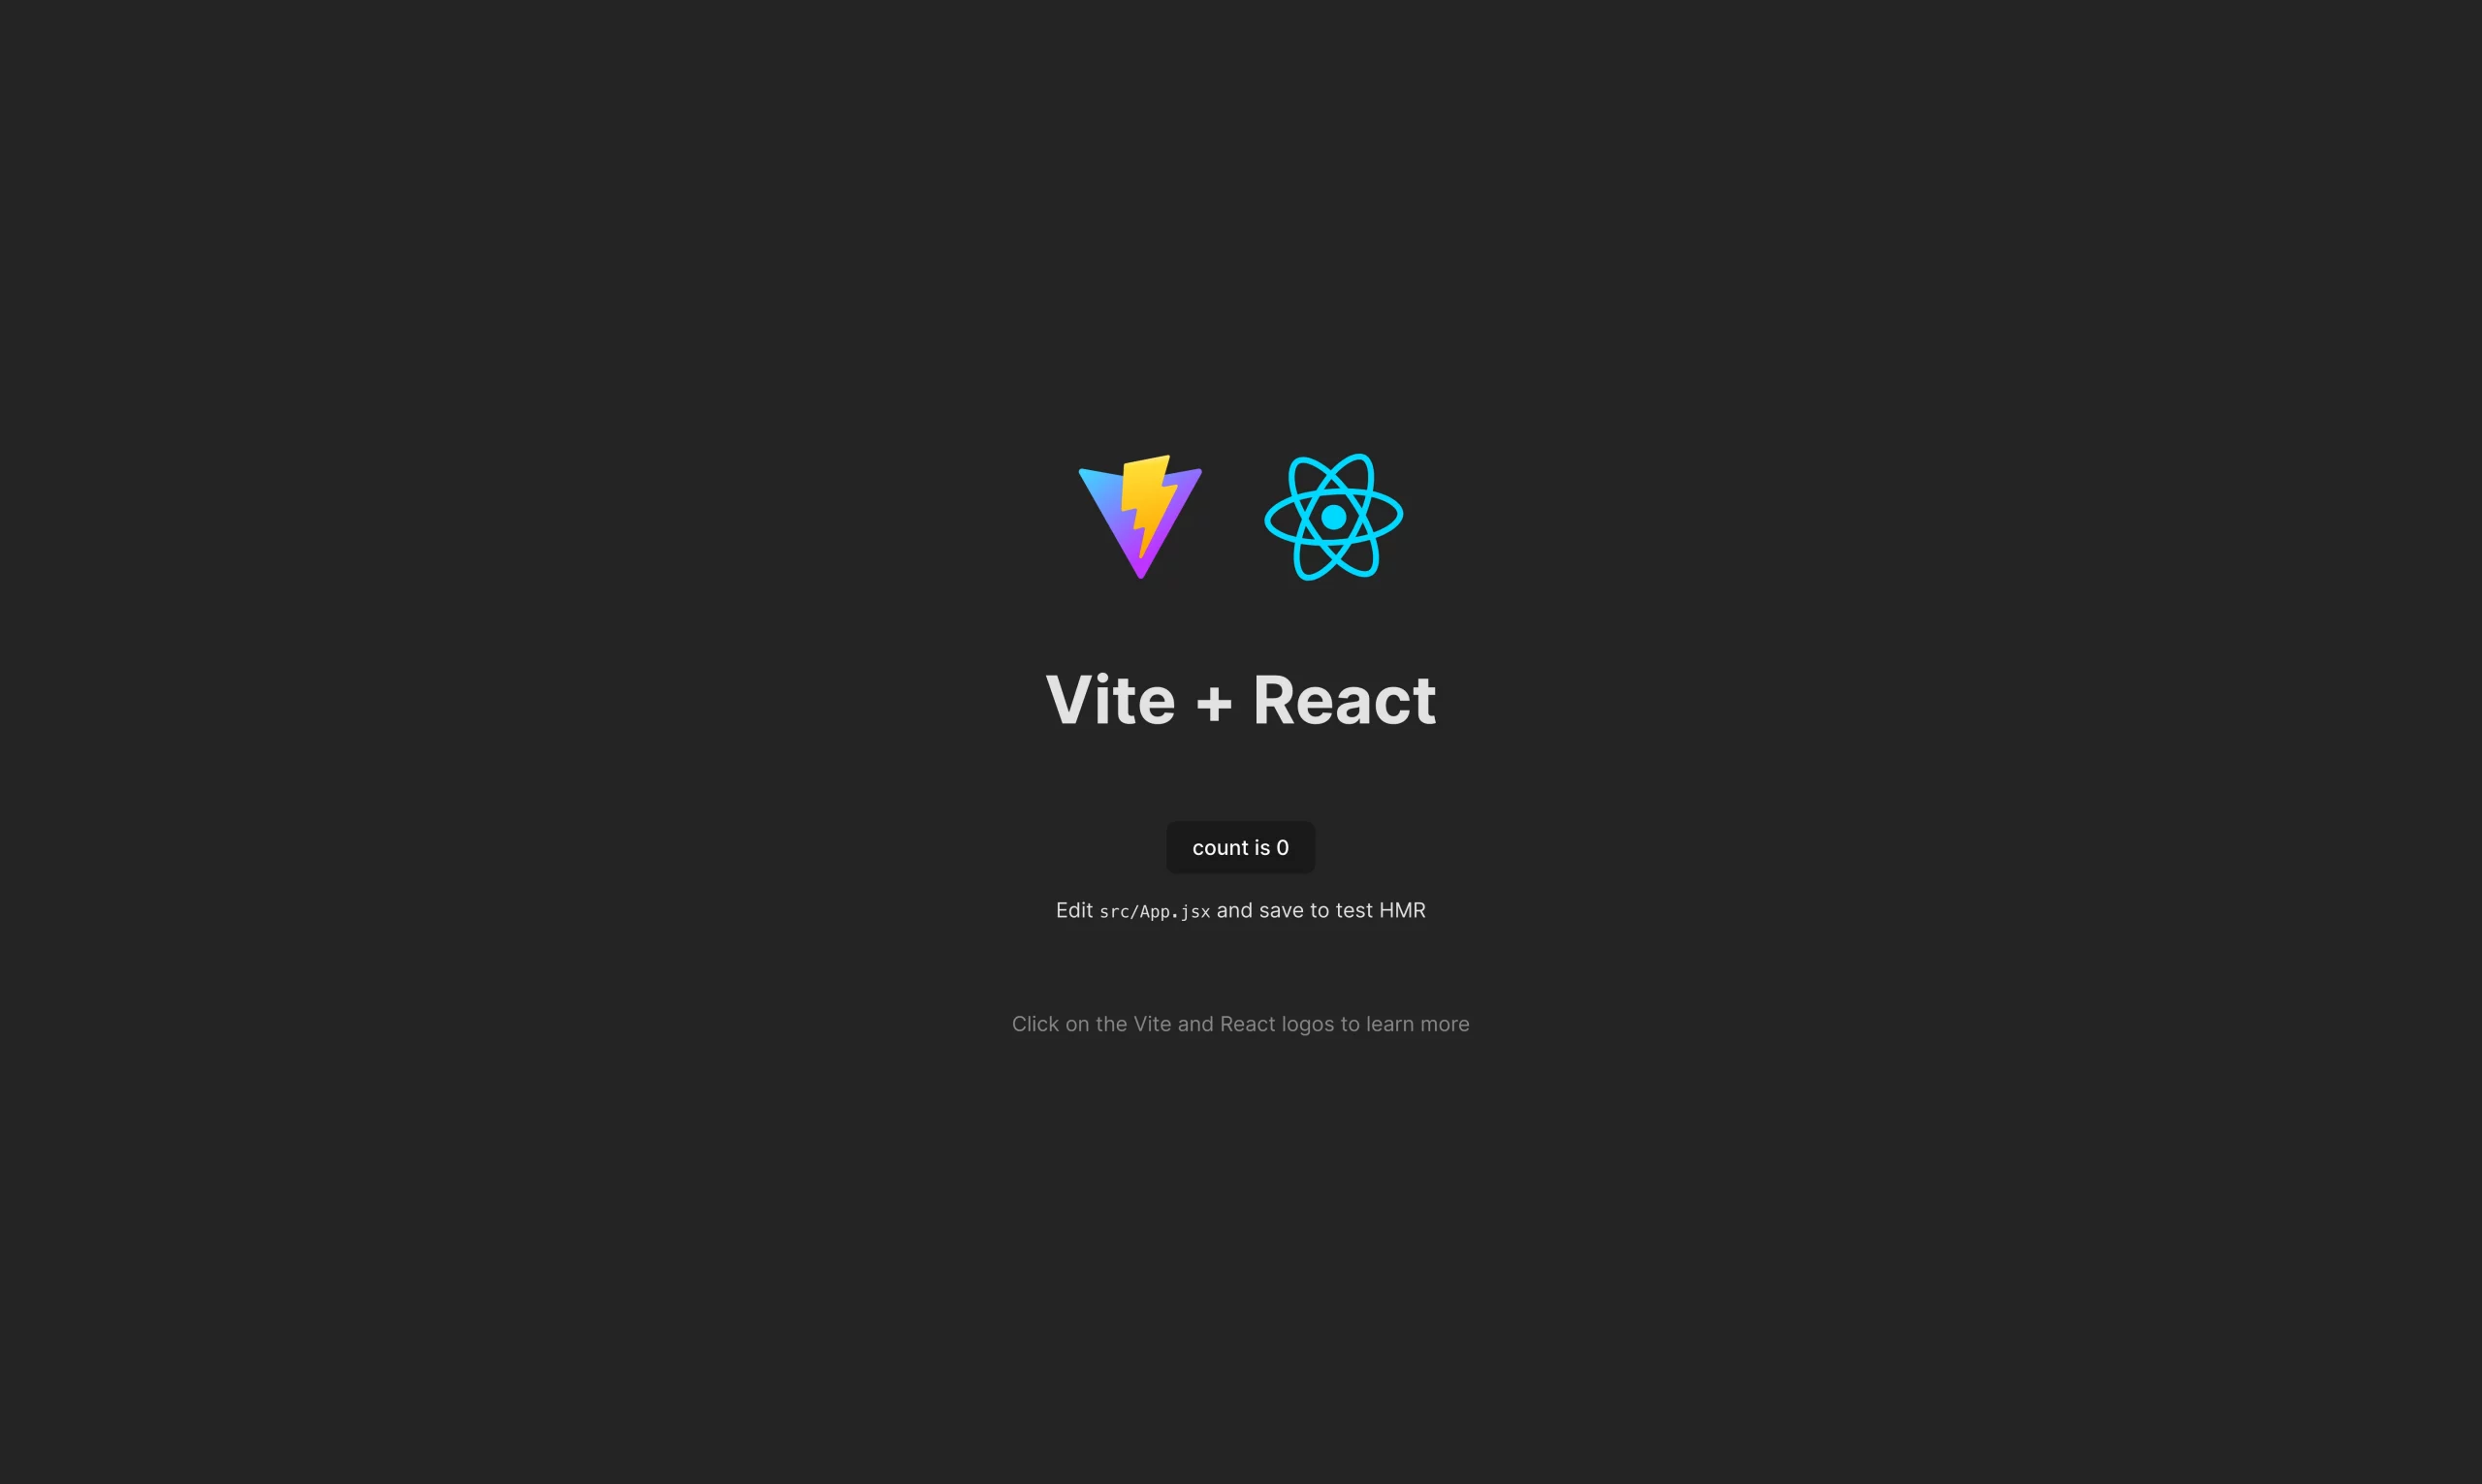
You got it! Your project is running perfectly. Now, you are all set to move on to the next step, which is adding Material UI to your project.
Step-2: Install Material UI in React Project
The default Material UI installation includes 3 types of commands through 3 different package managers: npm (Node Package Manager), pnpm (Performant Node Package Manager), and yarn.
//with npm
npm install @mui/material @emotion/react @emotion/styled

//with pnpm
pnpm add @mui/material @emotion/react @emotion/styled

//with yarn
yarn add @mui/material @emotion/react @emotion/styled
You can install the Material UI by typing any of these commands into your terminal. I’ve used the first command with npm, as pnpm and yarn are the alternatives to npm.
A short glimpse at what the packages do:
- @mui/material: This is the main package for Material UI components.
- @emotion/react and @emotion/styled: These are needed for styling, as Material UI uses Emotion as the styling engine for styling and customizing the components.
Once the command finishes, Material UI is installed and added to your project. You can look at the package.json file to see a list of all the installed packages and dependencies.
Material UI gives a library of styled components you can use immediately. But sometimes we need to change some parts to fit our design needs. For instance, we might need to add icons or change the styling of some of the components. So, let’s look at some additional steps to ensure our installations are complete and ready to use Material UI.
Styled Components
Though Emotion is the default styling engine in MUI, we use styled-components in our React project sometimes. To install styled-components, run the following command:
npm install @mui/material @mui/styled-engine-sc styled-components
Adding Icons
When working on MUI projects, we use different icons for our design. Material UI offers a diverse icon set along with other components. To install this run:
npm install @mui/icons-material
Step-3: Utilizing Material UI Components
After installing everything, you can use Material UI components in your project by importing them. Here’s an example of how to use a Material UI Button:
import { Button } from '@mui/material';

function App() {
  return (
    <div className="App">
      <Button variant="contained" color="primary">
        Next
      </Button>
    </div>
  );
}

export default App;
This will display a blue, clickable button that says “Next”. Similarly, you can experiment with other Material UI components like TextField, Card, or Grid.
Let’s look at the example below:
Here I’ve used a card component with the button component from above.
Finally, you’ve successfully installed Material UI in your React project, and now you can start building beautiful projects with functional UI components.
The best thing about working with Material UI is that it saves time and effort on styling by offering a collection of pre-designed, customizable components, so you do not have to start from scratch. Additionally, it provides some easy customization techniques without blemishing the consistency. So, you can always use themes and styling choices to make it your own.
You can also get a better insight about Material UI by checking out some frequently asked questions.
Happy coding!
