Do you need a WordPress theme that you can customize without restraint to fit your brand
image like a glove? Why not create it yourself then?
It’s actually way simpler than it sounds.
Despite the overwhelming abundance of free and premium WordPress themes, you might
struggle to find a template that succeeds in meeting all your requirements.
In this guide, we’ll help you learn more about custom development and how to build your
own WP theme from scratch. We’ve also included a list of the best WordPress marketplaces
in case you want to give premium templates another look.
What Is WordPress?
WordPress is an open-source content management system (CMS) that powers more than
40% of websites on the Internet. The platform is well-known for allowing individuals of all
backgrounds to create different types of projects (e.g., blogs, portfolios, ecommerce stores,
mobile applications, etc.).
Another reason for WordPress’s popularity is that it’s completely free to set up, utilize, and
customize. With a massive library of over 50,000 plugins and 11,000 themes, WP helps its
members make modifications to their sites.
Big-name brands that use WordPress include Sony Music, Time Magazine, The Rolling
Stones, Disney Books, Spotify Newsroom, and Microsoft News.
What Are WordPress Themes?

A WordPress theme lets you change your website appearance, like its fonts, colors, menu
structure, and other components.
The theme basically consists of a set of files (code, stylesheets, and graphics) in a zipped
folder, with page templates written in PHP and CSS.
WordPress often offers a default layout upon installation (usually named after the current year)
but many auto-installers offer a wider variety of choices based on your niche.
Shops for Premium WordPress Themes
As you can imagine, not everyone has the time to build their theme from the ground up.
Enter ready-made templates.
Compared with most free WordPress themes, premium WP templates offer more features, dependable customer support, and regular updates. That’s why they’re the preferred option for many professional and business websites.
With a plethora of theme vendors online, finding a reliable and quality template for your site can be a daunting task. To save you time, we’ve scoured the web and picked the four best
WordPress theme marketplaces out there.
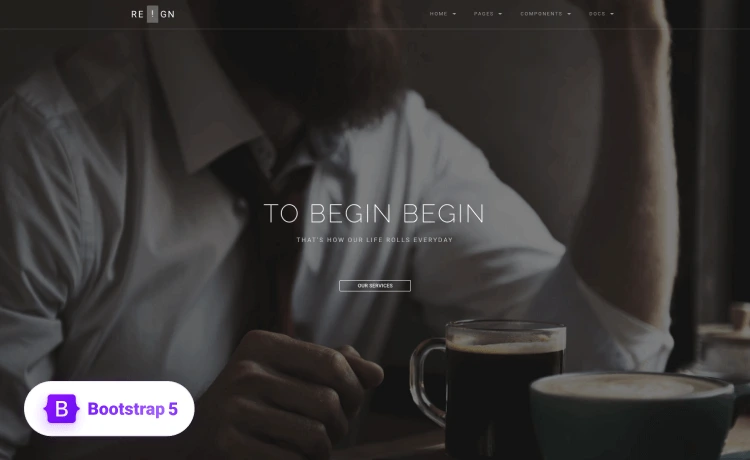
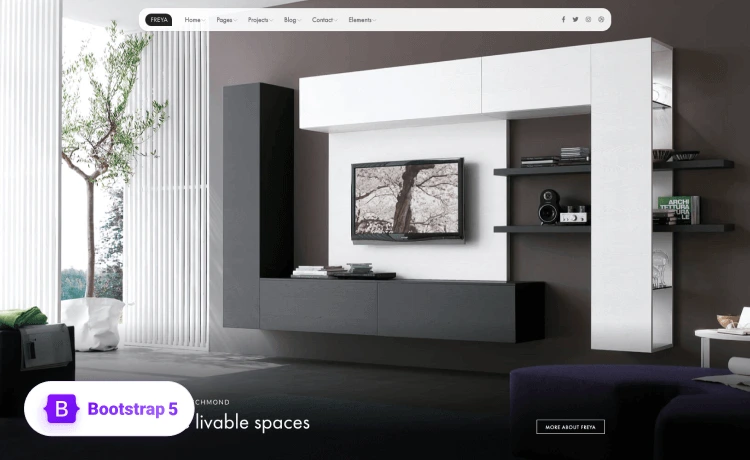
Themify

Launched in 2010, Themify is one of the most well-known and well-respected theme providers in the WordPress community. It offers over 40 high-quality templates compatible with the blocks of the new WP editor and WooCommerce.
Themify themes come with a plethora of useful features and customization options. The integrated collection of shortcodes, for example, makes it super easy to add content. They’re also freely available as a plugin to use on other websites.
The demo import function also helps you transfer the sample content to your website in a single click within seconds.
Want to build your own website with ease? Themify Builder Pro will assist in designing your WordPress site by dragging and dropping elements without prior coding skills.
You can buy themes individually for $59 or sign up for one of its two WordPress club plans – Master Club (annual for $89) and Lifetime Club. The latter allows you to pay a one-time fee of $249 and get access to all of Themify’s templates, plugins, builder addons, and photoshop files.
Themify club membership lets you use themes on as many websites as you want. A 30-day money-back guarantee is included, in addition to limitless updates and support.
StudioPress
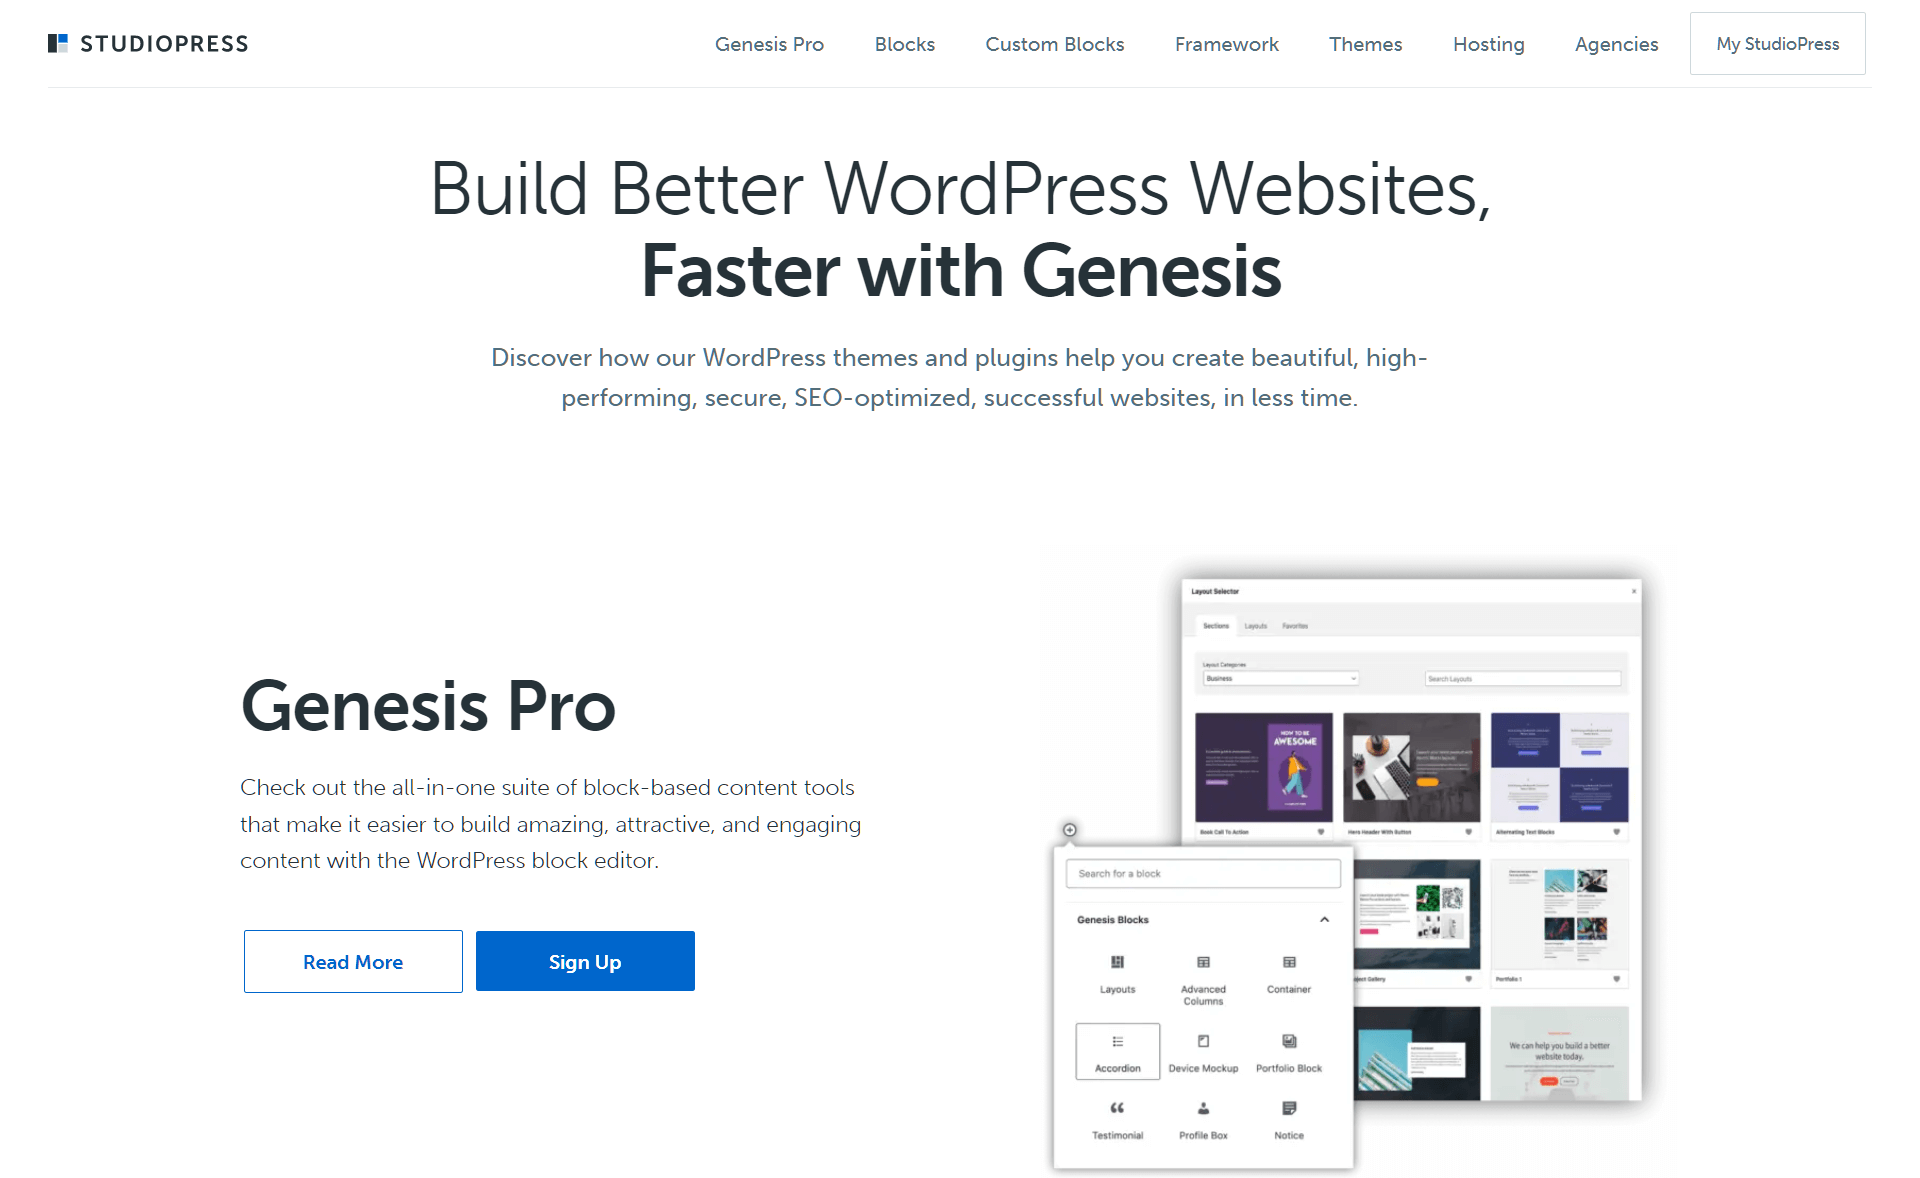
If you’ve ever heard of the Genesis Framework, you probably know that StudioPress is the company behind it.
Powering more than half a million WordPress websites, StudioPress offers managed WP hosting and 20+ premium HTML5 optimized themes. A diverse selection of one-click plugins is also available, with crowd favorites like WooCommerce, Beaver page builder, Design Palette Pro, Restrict Content Pro, and OptinMonster.
StudioPress is also famed for its advanced SEO functionalities. All Genesis child themes are optimized to boost search engine rankings, especially in Google. Thanks to the company’s support for Schema code, users can add microdata to their website code to improve SEO even more. Other features include AMP support, breadcrumb title control, and XML sitemap generation.
Moreover, StudioPress has a solid security architecture. Your website will be shielded with intrusion prevention, constant malware scanning, automatic updates, DDoS protection, and more.
StudioPress isn’t for hobbyists or newbie bloggers. It’s more geared towards growing businesses, content marketers, podcasters, and blogs with high conversion funnels.
CSSIgniter
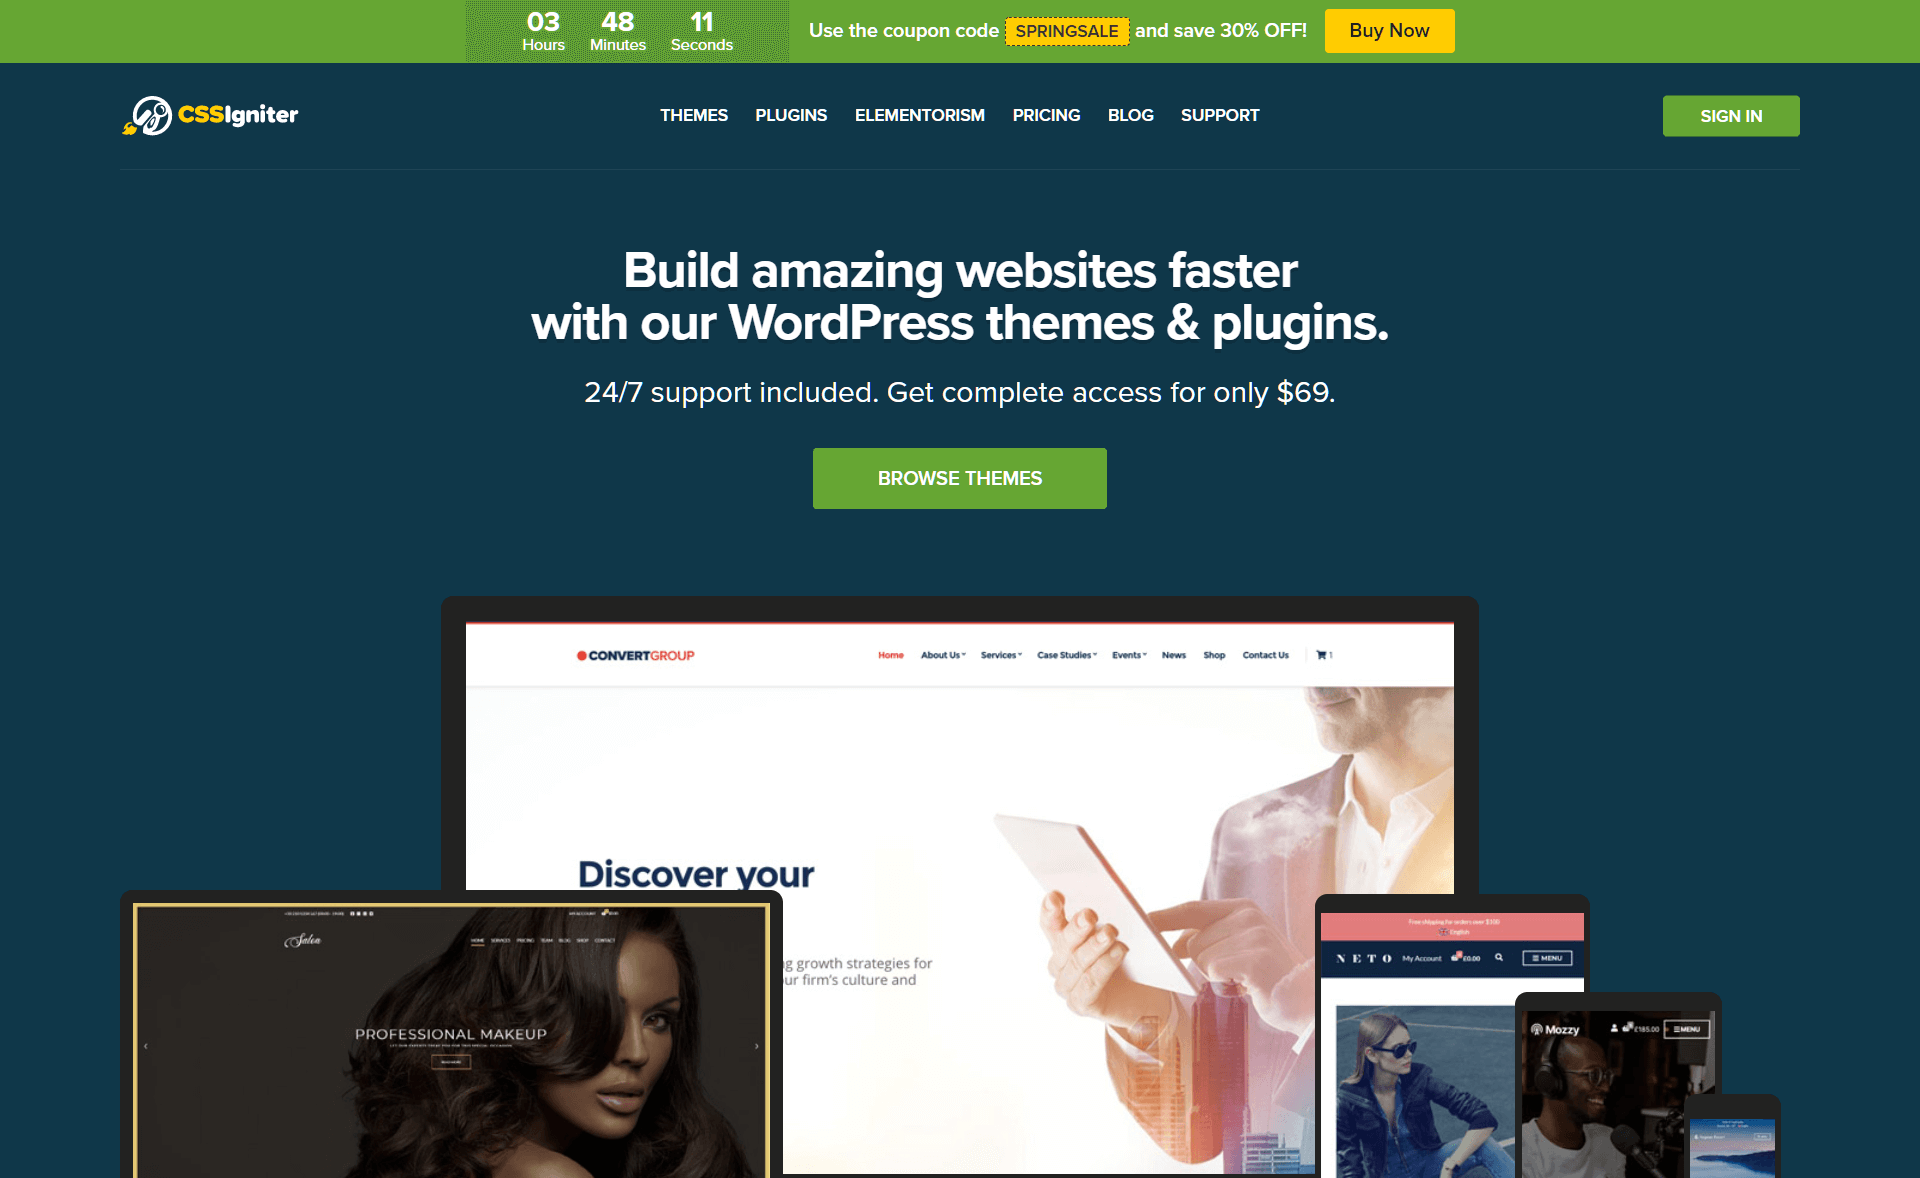
Founded in 2008, CSSIgniter is one of the oldest players in the WordPress arena. Although the company started with only 10 themes, it grew massively to provide 80+ beautifully designed WP themes, Elementor templates, and plugins.
CSSIgniter themes are mostly niche-based with just a few multipurpose and ecommerce skins. You can find templates dedicated for travel agencies, hotels, magazines, blogs, and many more. All themes are customizable and include the necessary features to tailor them to your liking.
The header and sidebar are easy to modify. You can also change the design of your posts and create separate sections to showcase important information. Elementor has another great feature that lets you easily add pre-made landing pages from the page builder with one click.
Stepping into the customer support department, you’ll have access to a comprehensive knowledge base, tutorials, and blogs. Other forms of assistance include live chat, ticket system, and forum.
CSSIgniter is a budget-friendly solution. Purchasing a single theme costs $49 and you’ll get one year of regular updates together with premium support. There are three other subscription options – Standard Club, Developer Club, and Lifetime Club. The vendor offers promotional discounts and a 30 days money-back guarantee.
MyThemeShop
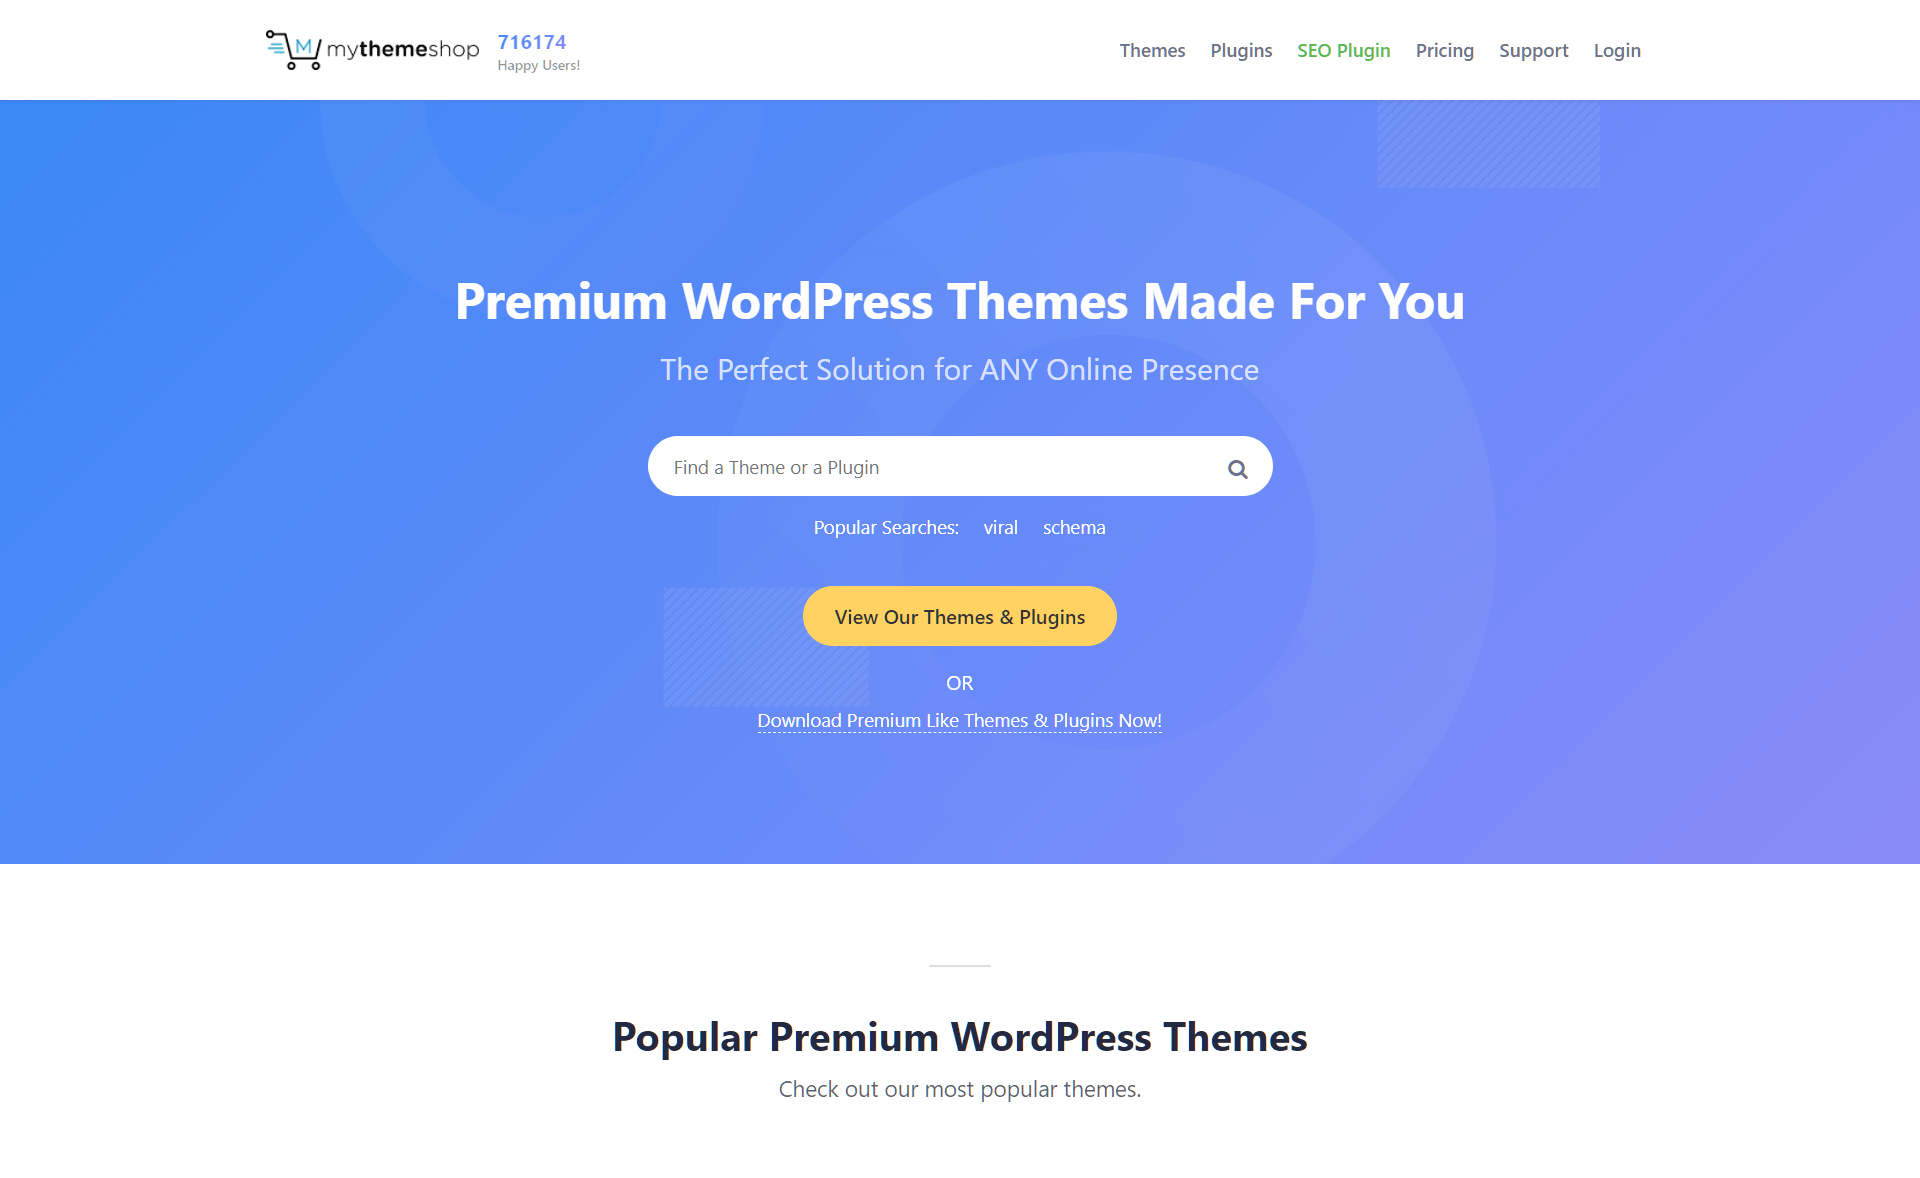
With over 70,000 happy customers, MyThemeShop is a freemium marketplace that offers free and premium WordPress themes and plugins. There are 50+ free templates and 80+ paid ones available in the store, along with 15+ plugins.
The vendor’s themes are mobile-friendly and built with the latest HTML5 and CSS3 language standards in mind. Mobile responsiveness enhances the template’s appearance on devices with various screen sizes. They’re also characterized by fast loading speeds, SEO and Adsense optimization, multilingual support, and compatibility with different browsers.
All MyThemeShop themes include an intuitive dashboard that allows you to change every aspect of the design without having to execute any lines of code.
MTS allows you to buy WordPress themes individually or subscribe to a club membership with full access to the company’s product line. A single template costs between $19 and $39/year, and the Extended Membership costs $199 annually.
All plans include a one-month money-back guarantee and 24/7 support.
Benefits of Using a Custom WordPress Theme
Pre-designed templates still aren’t cutting it for you? Building a custom WordPress theme will help you establish a unique brand identity and distinguish yourself from the competition.
Besides originality, there are other long-term advantages to having a custom WordPress theme.
● Full Control
Pre-built themes allow a small room for customization. With a custom theme, you have complete control over every element of your site, from visual components (color palette, fonts, logo, images) to advanced functionalities. You’ll also have unrestricted ability to enhance your website as it grows.
● Better Loading Speeds
With a focus on the mainstream market, a lot of pre-made themes contain unnecessary features and bloated code that can slow down your WordPress website.
A purpose-built theme is customized to your specific needs. You have tons of opportunities to keep your site looking fresh, and by reducing code bloat, you’ll benefit from faster-loading pages.
● Improved SEO
Not all ready-made themes implement the best SEO strategies to boost your search engine ranking. On the other hand, a custom WordPress theme allows you to hand-code everything from scratch and incorporate the best SEO techniques for better visibility.
● Higher Security
A custom theme brings several security perks as well. You can ensure the template receives constant updates. It will also be easier to notice any glitches or security vulnerabilities so you can fix them right away.
A custom theme will help you reduce the dependency on third-party plugins, which are usually a doorway to cyberattackers.
How to Design Your Own WordPress Theme

Got time up your sleeve to build your WordPress theme from square one? Get your brain into gear and let’s begin!
Before you start working on the template itself, you must first set up a development environment configured with Apache, PHP, and MySQL. It’s also important to have WordPress already installed and your database credentials updated.
Once that is out of the way, you’ll need to understand the basic structure of a WP theme. In essence, it’s just a normal page created using HTML that consists of the following files:
● header.php – contains the header code.
● footer.php – contains the footer code.
● sidebar.php – contains the code for the buttons of the side menu.
● style.css – controls the visual presentation of the theme.
● index.php – implements the settings displayed on the homepage.
● single.php – contains the code for a single article on its own page.
● page.php – contains the code that shows the content of a single page.
● archive.php – shows the list of articles that are in the archive.
● functions.php – important design functionalities such as the logo, menus, colors, thumbnails, scripts, and stylesheets.
● 404.php – error code that appears when a requested file is not found.
In order to customize your template, you’ll need to integrate some Bootstrap settings. Once done, we can start creating the theme through the following steps:
Create a Folder for the Files of your Theme
To build a WP theme, you must know where its files are stored in the local installation (either your root folder or a subfolder you chose upon setup).
Look for the following in particular:
Files:
composer.json
● index.php
● license.txt
● readme.html
● wp-activate.php
● wp-blog-header.php
● wp-comments-post.php
● wp-config.php
● wp-config-sample.php
● wp-cron.php
● wp-links-opml.php
● wp-load.php
● wp-login.php
● wp-mail.php
● wp-settings.php
● wp-signup.php
● wp-trackback.php
● xmlrpc.php
Folders:
● wp-admin
● wp-content
● wp-includes
The folder labeled wp-content is the one you want. It contains all the themes and plugins.
Inside, you’ll find a folder named Themes. This also includes the layout you’ll create now for the CMS to recognize the new settings.
There are three subfolders already stored in Themes, containing three default templates included with WordPress. You must create a separate folder for your theme here and give it any name you like.
For the sake of this tutorial, we’ll name it MyTheme. It’s crucial that you save the custom design inside the Themes folder to be able to activate and use it online.
Create the Style.css and Index.php Files
For a WordPress theme to work properly, it must contain a series of mandatory files. You need to create the following two in the MyTheme folder:
● style.css – this is the WP demo file used to display the author’s name, repository, and
theme version.
● index.php – WordPress loads the posts through this essential file. It’s also used
whenever a WP base file is missing.
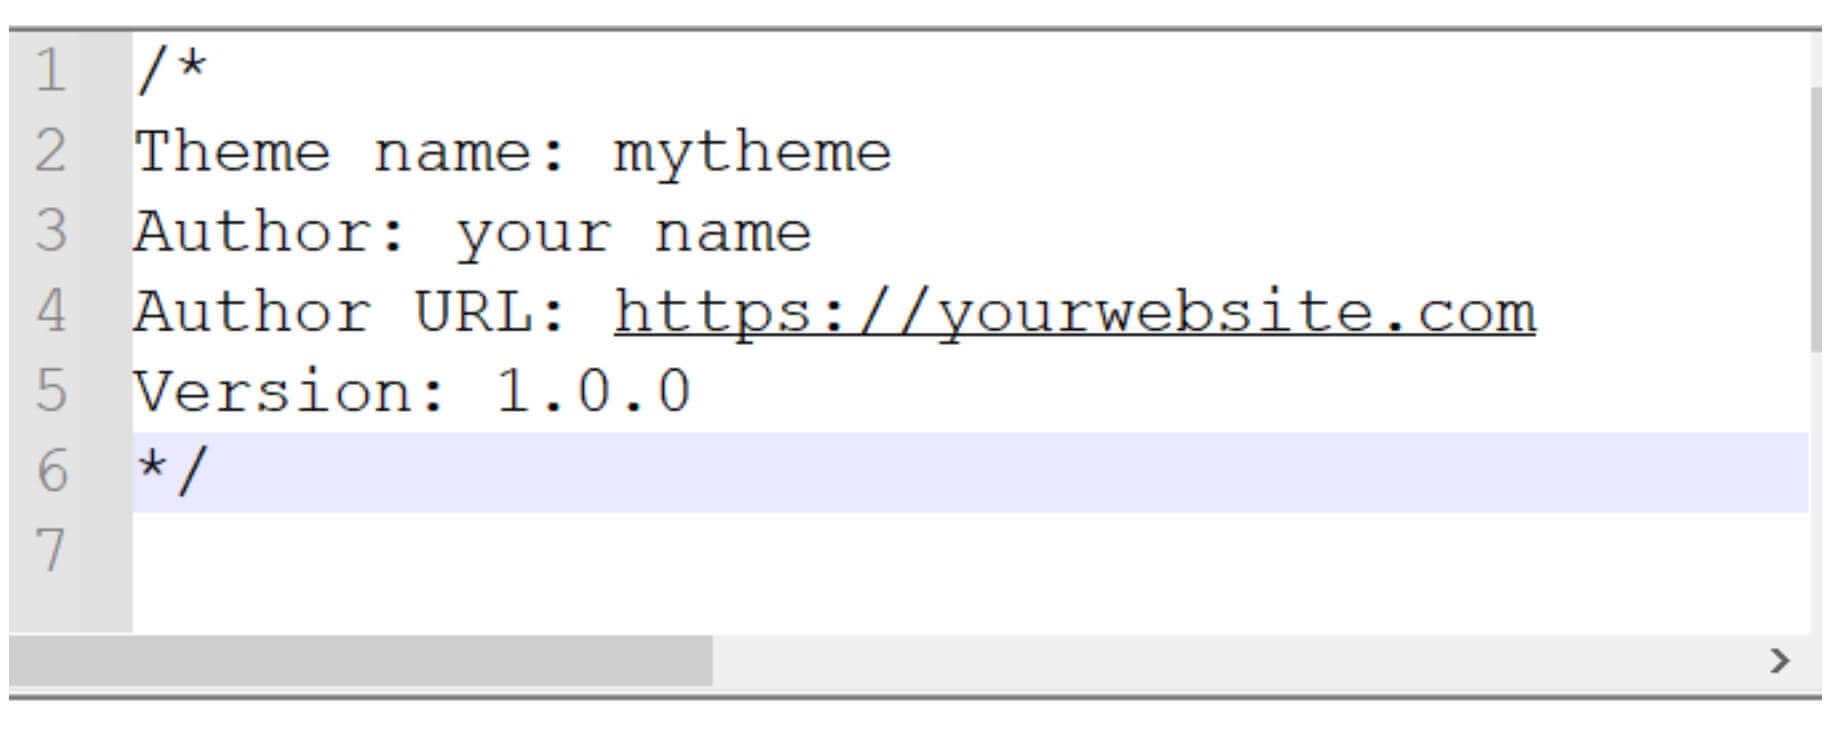
Style.css
Style.css is a very important stylesheet file for all WordPress themes. It’s responsible for controlling the visual design and layout of the website pages. In this file, you’ll specify information about the theme, such as its name, author, author page, and version number (e.g., version 1).
This information needs to be written in a specific manner so that WP can identify it, as shown
below:
/*
Theme name: your theme’s name (this will appear in the list of themes).
Theme URL: a website that demonstrates the functionality of the theme and can also contain a
form for other people to buy it.
Author: the theme creator’s name and contacts for anyone interested in it.
Author URL: you can add your website URL here.
Github Theme URL: Not a must but can be useful to add the theme to Github so users can add
new features, suggest improvements, and answer questions.
Description: this is where you add information about the theme (e.g., the template is more
suitable for ecommerce).
Version: 1.0.0 (as mentioned, since the theme is created by you, this will be the first version)
Text domain: here’s where the theme can be translated into other languages.
*/
Index.php
This is the file in charge of listing all the blog posts. Here, you must use native WordPress functions to show them on the screen.
Usually, developers connect databases and make queries to get content and display it. But in this case, we already have functions in WP for that.
Usually, developers connect databases and make queries to get content and display it. But in this case, we already have functions in WP for that.
Start by creating the index.php file and type anything you like in the command line to test if it will appear on your theme when you activate it. For example, you can try the following:
<h1>My Theme<h1> or <h1>Test Theme<h1><h1> refers to heading tags. They indicate the marked content will appear as a header and in a larger font.
Activate the Theme in WordPress
It’s now time to activate our WP theme. To do so:
- Log in to your WordPress dashboard.
- From the menu on the left, click on Appearance and then Themes. Move the cursor
over to your custom theme and click on Theme Details. - Make sure that everything you typed in the Style.css file (i.e., theme name, author, etc.)
works correctly. - At the bottom of the dashboard, click on Activate.
- Now, go to your website to ensure all theme settings function properly.
Change the Index.php File Settings
We are now moving to the next essential operation – modifying our index.php file. Let’s go over the quick steps:
- In the Index.php file, remove the command line you wrote to test it.
2. Next, replace it with a command line for WP to retrieve posts from the database and send them to the page. The goal here is to recover the title and contents of the post so they can appear on the home page.
3. The command have_posts informs WP to search the database for blog posts. If found, they’ll be displayed on the page. If not – the error message that was written in the code for negative response condition (false) will be displayed.
4. Adding the_post function to the have_posts loop of commands allows WordPress to display the file whenever identified as true for the have_posts condition. WP checks for posts and shows them on the page as needed through that loop. If there are posts in the database – all the commands within the loop will be executed for all their files. Otherwise, WP will inform the user that no posts have been found.
This is demonstrated in the following code:
IMPORTANT: Note that the two functions have_posts and the_post are used in their most basic form in this loop.
<?php
if ( have_posts() ) :
while ( have_posts() ) : the_post(); ?>
<h2><a href=”<?php the_permalink() ?>”><?php the_title() ?></a></h2>
<?php the_content() ?>
<?php endwhile;
else :
echo ‘<p>There are no posts!</p>’;
endif;
?>
5. The have_posts function tells you whether or not there are any posts in the database to repeat. If there are such – it will return true.
6. The the_post function is responsible for retrieving the most recent post and performing the required configurations to display posted content in chronological order. Since all this happens in a loop, if the function returns true – any new post will be added automatically.
7. The the_content function associates the content with the page’s file title. At the same time, the_permalink function creates a link to each individual post, allowing users to view the material without having to scroll through the entire text.
8. If you like to add a brief summary under the file title, including the first 200 characters of the content, just replace the the_content function with the_excerpt in the code. This way, the user only has access to the full text when clicking on the link.
Add header and footer
We now need to create two new files in our theme folder – header.php and footer.php.
Header.php
It’s considered a good practice to include wp_head in your themes. This special function finalizes the output in the section of your header.php file. It should be inserted before the closing tag, and its core purpose is to facilitate the integration of plugins to your site. You can utilize this hook to add styles, scripts, or meta elements to the section.
Footer.php
This file can close the tags used in the functions as shown below:
<footer class=”site-footer”>
<p><?php bloginfo ( ‘name’ ) ?></p>
</footer>
<?php wp_footer() ?>
</body>
</html>
Create the Functions.php File
The next step here is to create another file called functions.php. This one is responsible for adding “personality” to WordPress since its command-line is able to modify the default behavior of the CMS. It possesses the following characteristics:
● Doesn’t require a unique header text.
● Only works when located in the activated theme directory.
● Only applies to the current theme.
The following code will include or activate the stylesheet for your custom theme:
<?php
function custom_theme_assets() {
wp_enqueue_style( ‘style’,get_stylesheet_uri() );
}
add_action( ‘wp_enqueue_scripts’, ‘custom_theme_assets’ );
Conclusion
Pre-designed WordPress themes have their strengths and weaknesses. They definitely save time as opposed to creating templates from scratch. In addition, reliable premium services will provide you with the assistance and maintenance you might need in the long run.
On the other hand, predesigned templates come with certain limits in terms of configurable options. This is often not really suitable for large-scale projects that have specific requirements and unique design needs. In that case, a custom WordPress theme is your best solution.
By following the tutorial above, you’ll easily sail through building your very own WordPress theme and ensuring a one-of-a-kind look for your website